
Installing Mods to your Vintage Story Server
Mods can be installed on a Vintage Story server. To download mods for your server you'll want to go to the Vintage Story Mod DB on the Vintage Story website. When connecting to a Vintage Story modded server, Vintage Story will automatically ask if it can download the necessary mods needed for the server. Mods automatically downloaded this way will be stored in a server-specific Mods folder on the client.
Adding mods to your Server.
- Download the mods that you want to install. For compatibility, they need to be the same Vintage story version as your server. For example, if your server is 1.18.0 the mod must also be 1.18.0. The mods will be a .zip folder, do not extract the contents.
- Stop the server.
- Log into your server though SFTP.
- Navigate to the mods folder in your SFTP client
/vintage-story/data/Mods. If you do not see this folder yet, start the server and run it until the folder is generated. - Upload your mods (one at a time, repeating these instructions as necessary) into the mods folders. The mod’s installation instructions should specify the folder(s) to place them into if they are different.
- Log into Command Center and start the server.
Adding mods to your Client
If you're connecting to a server that already has the mods installed, you should get a pop up that will ask if it can download the mods needed for the server. If you're unable to download the mods you can still manually add them to your game.
-
Download the latest version of the mod client files. They will be a .zip folder do not extract the contents.
-
Launch Vintage Story, then click on Mod Manager.
-
Click on the Open Mods Folder button in the bottom-right of the page. This will open the
Modsfolder. If the folder is not opening, try the following:- Hit Windows Key+R on your keyboard.
- In the field that pops up, type
%appdata%. - Make sure you're in the
Roamingfolder and click then onVintagestoryDatafolder. - Click on the
Modsfolder.
-
Drag the downloaded
.zipfiles into theModsfolder. -
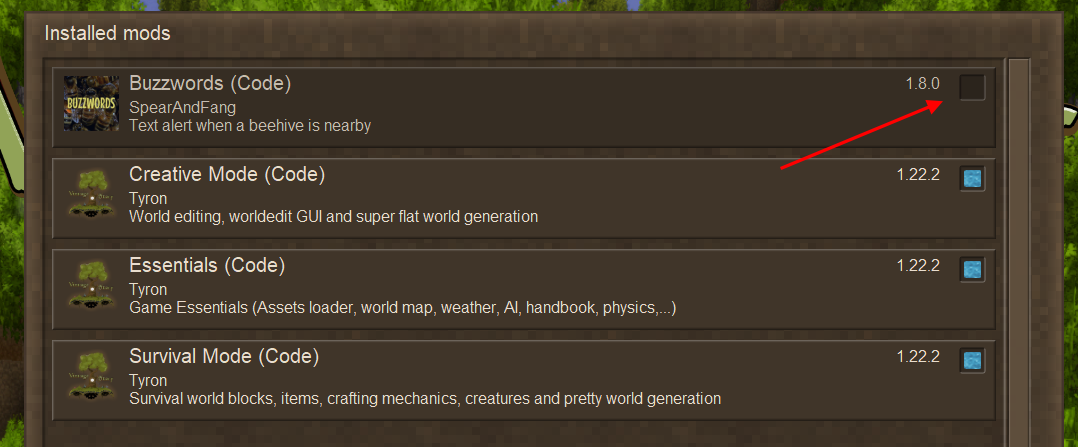
On the Mod Manager page, click Reload Mods to load the installed mods.
-
The mod will show a blue square box if being loaded. If this box is not showing, click the empty space to enable the mod.

Updated 2 months ago