Install a Modpack on the CurseForge Launcher to Connect to a Server
Our partner, Grishord, made a great video on how to do this. It focuses on one of his modpacks but will work with any modpack you want to install that is on CurseForge. We personally recommend 8gb for most modpacks. Check it out below or read on for the text version of the instructions.
Install the CurseForge Launcher
You’ll need the CurseForge Launcher to get started.
- Download the CurseForge Launcher installer (https://download.curseforge.com/)
- Run the installer by double-clicking on it in the folder you downloaded it to.
- When the installation is complete, run the CurseForge Launcher.
Enable Minecraft in the CurseForge Launcher
- Click on Minecraft in the launcher and follow directions:
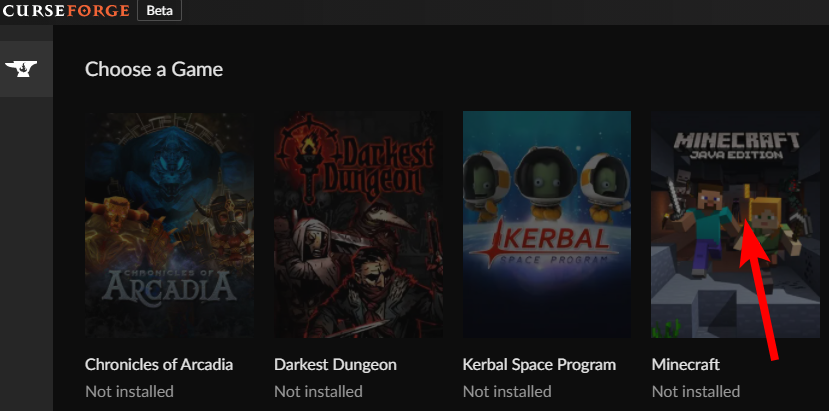
Install the Modpack
- Search for the modpack you need to install to connect to the server (All the Mods is just an example.) :

- Click on the “Install” button that shows up when you hover over the modpack you want to install:

- Wait for it to finish.
Run the Modpack
- Go back to “My Modpacks":

- Click on the “Play” button that shows up when you hover over the profile:
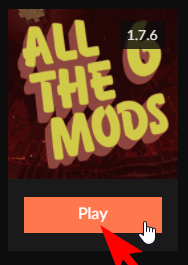
- Click on the “Play” button in the new window that pops up:
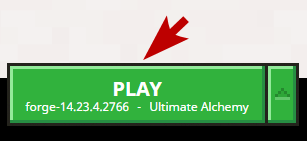
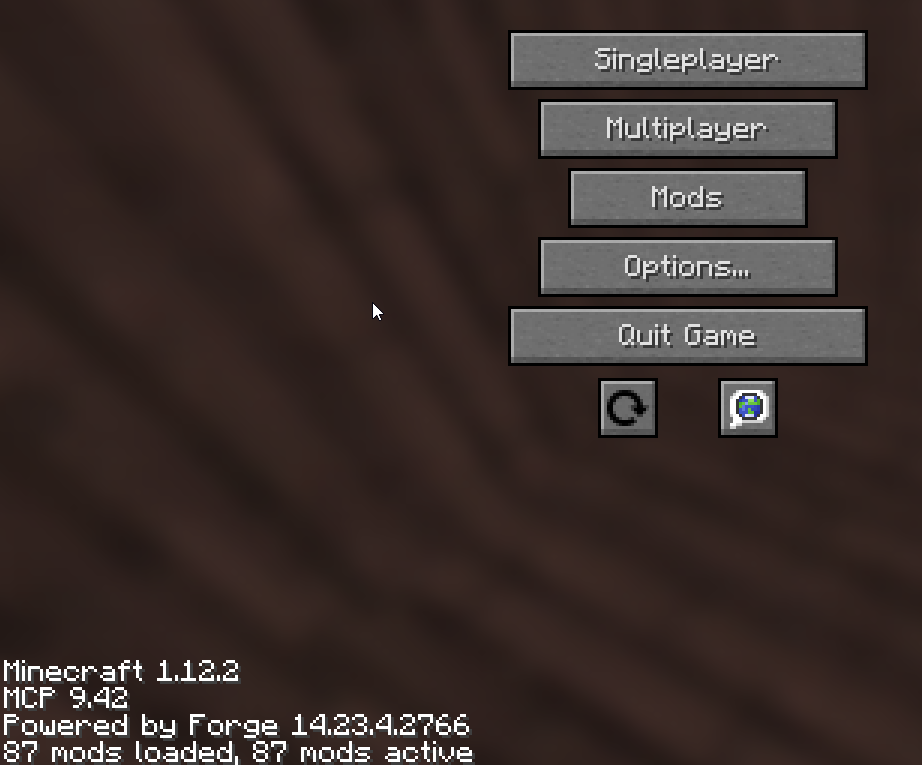
- Wait for the game to finish loading. It should show a menu screen similar to this, although the text will be different and the buttons may be in different locations:
Connect to Server
- Click on “Multiplayer:"

- Click on “Add Server:"

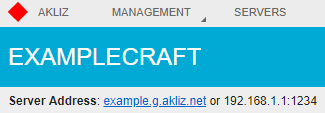
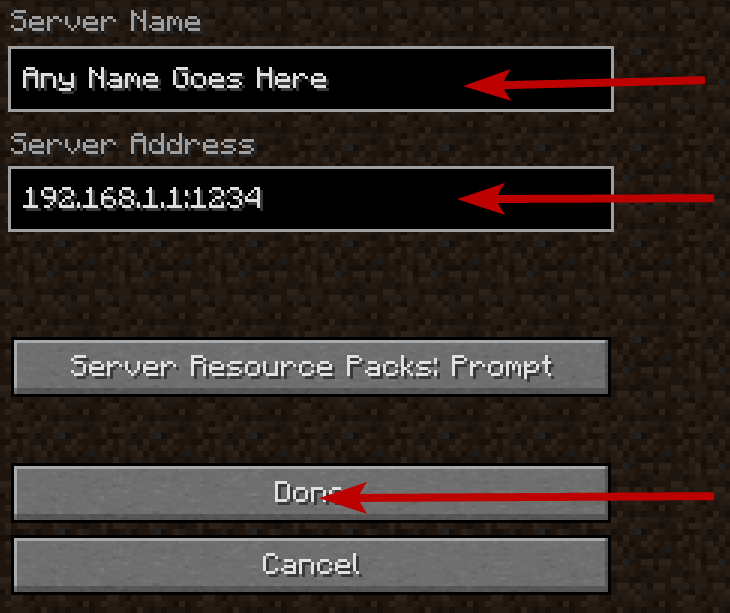
- Fill in the form with the IP address and port listed on your Command Center page and then click “Done:"
- Finally, select your new server and click on “Join Server:"

Optional: Change Client Version of the Modpack
Sometimes you need to change the version of your client to match the version of the server. Here's how:
- Click on the modpack in the launcher.
- Click on the VERSIONS button at the top.

- Select the version you want.
- Click the CONTINUE button.
- Wait for CurseForge to modify the modpack.
That's it. Enjoy!
Updated 3 months ago
