7 Days to Die Twitch Integration
Twitch Integration with 7d2d
This guide will help get you started with setting up 7 Days to Die's built in Twitch Integration.
Configure Your Server
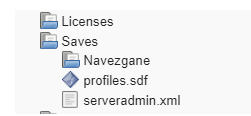
- Start the server and let all the configs load. Once the
Savesfolder pops up you should see your serveradmin.xml

- Open serveradmin.xml by clicking on it and look for the following between these tags:
<admins> </admins>
<!-- <user steamID="76561198021925107" name="Hint on who this user is" permission_level="0" /> -->
<!-- <group steamID="103582791434672565" name="Steam Universe" permission_level_default="1000" permission_level_mod="0" /> -->
-
Look up the Steam64 id using a tool like this: https://steamid.io/
-
Add a line for your own SteamID. You will need to set the permission_level to 90 or less.
<user steamID="your steam64 ID" name="your name" permission_level="90" />
Name is only for your own recordsThe
name=part of that is only for a hint to who this setting is for, so you can keep track. Setting your Steam username here won't actually do anything other than that.
- Save the file and start your server.
Configure Your Client
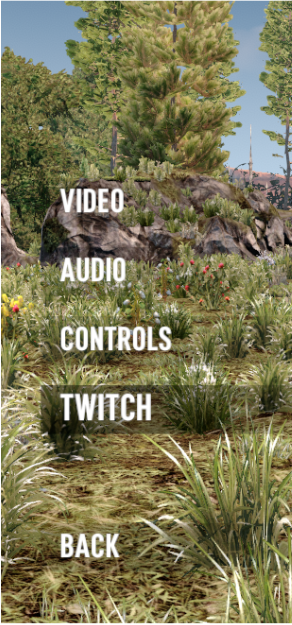
- Log in to your server and hit escape and go into your settings. Click on
TWITCH

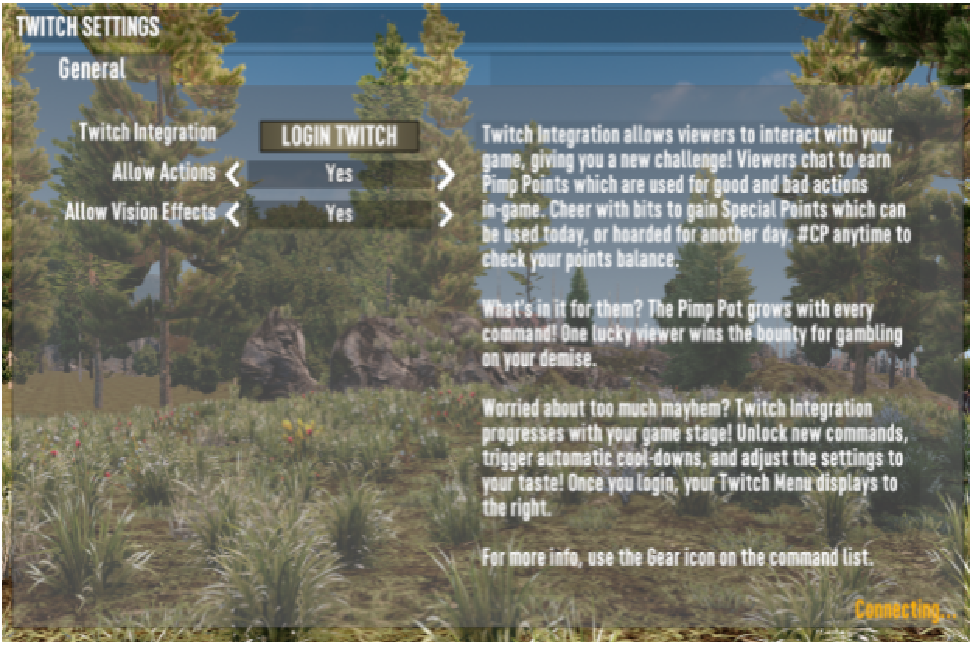
- Click on
LOGIN TWITCH

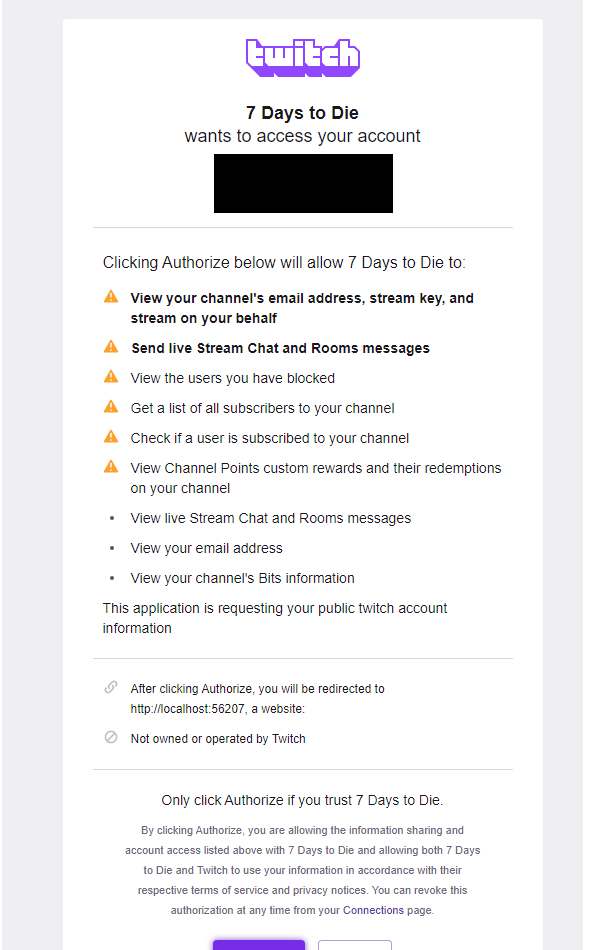
- Finish logging in to Twitch in the popup.

Configure Your Server with Twitch Specific Settings
-
Click on Files and navigate to your saves folder again and then to the
ConfigsDumpfolder under your world/game folder. -
Edit the files
twitch.xmlandtwitch_evernts.xmlas you'd like and then save and restart your server.
That's it! You're done. If you'd like even more information, see this document: Welcome to Twitch Integration
Updated 3 months ago

