
Create an Additional World
Each Minecraft server allows you to create more than one world folder. You can create additional worlds to separate your creations, troubleshoot world-related issues, or start on a fresh world while keeping a backup of the old. Under most circumstances, only one world can be run at a time.
Create an Additional World
-
Login to the Server Dashboard.
-
From the server list, click on the server that you would like to modify.
-
Go to the Files tab.
-
Click on
server.propertiesto open the file.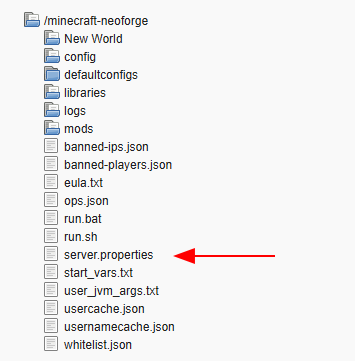
-
Find the line containing
level-name=[world name]and note whatever is after the=sign. On most servers, it isworldorNew World.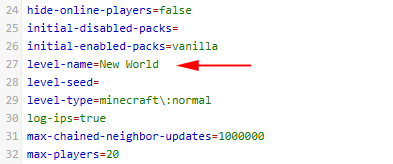
-
Change
level-name=[world name]to something different than what’s there. For example,level-name=world-1. -
Save the file and restart your server.
When your server restarts, it’ll generate the world in a folder with the same name as the level-name you chose. On our system, the level-name is case-sensitive. For example, world is different from World and will result in two different world folders on your server.
Updated 4 days ago