Install a Modpack on the Twitch Launcher to Connect to a Server
Install the Twitch Launcher
You’ll need the Twitch Launcher to get started.
- Download the Twitch Launcher installer (https://app.twitch.tv/download)
- Run the installer by double-clicking on it in the folder you downloaded it to.
- When the installation is complete, run the Twitch Launcher.
Enable Minecraft in the Twitch Launcher
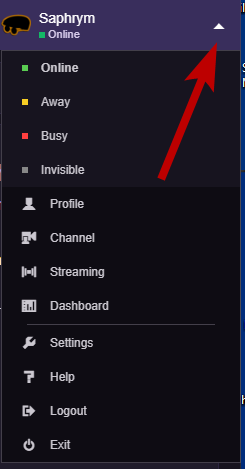
- Click the arrow next to your name:
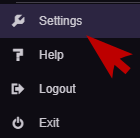
- Click “Settings:"
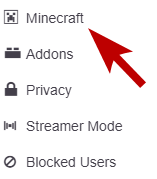
- Click “Minecraft:"
- Click the switch next to “MOD MANAGEMENT:"

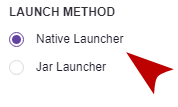
- Select “Native Launcher” under “LAUNCH METHOD:"
- Click on “Done” at the bottom of the page:

Install the Modpack
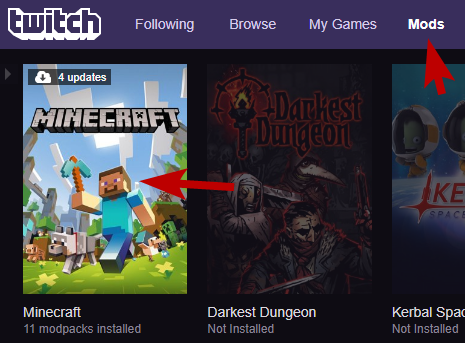
- Click on “Mods” and then on the new “Minecraft” panel:
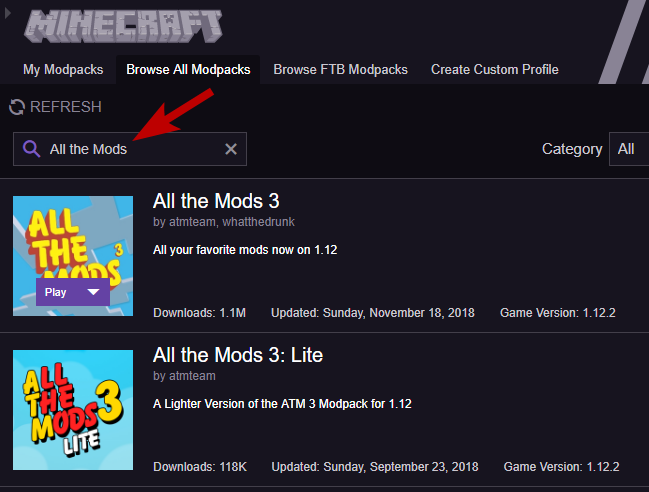
- Click on “Browse All Modpacks:

- Search for the modpack you need to install to connect to the server (All the Mods is just an example.) :
- Click on the “Install” button that shows up when you hover over the modpack you want to install:

- Wait for it to finish.
Run the Modpack
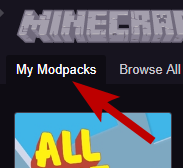
- Click on “My Modpacks:
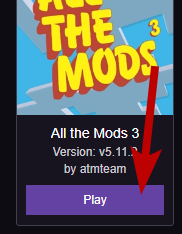
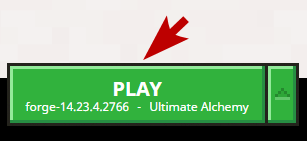
- Click on the “Play” button:
- Click on the “Play” button in the new window that pops up:
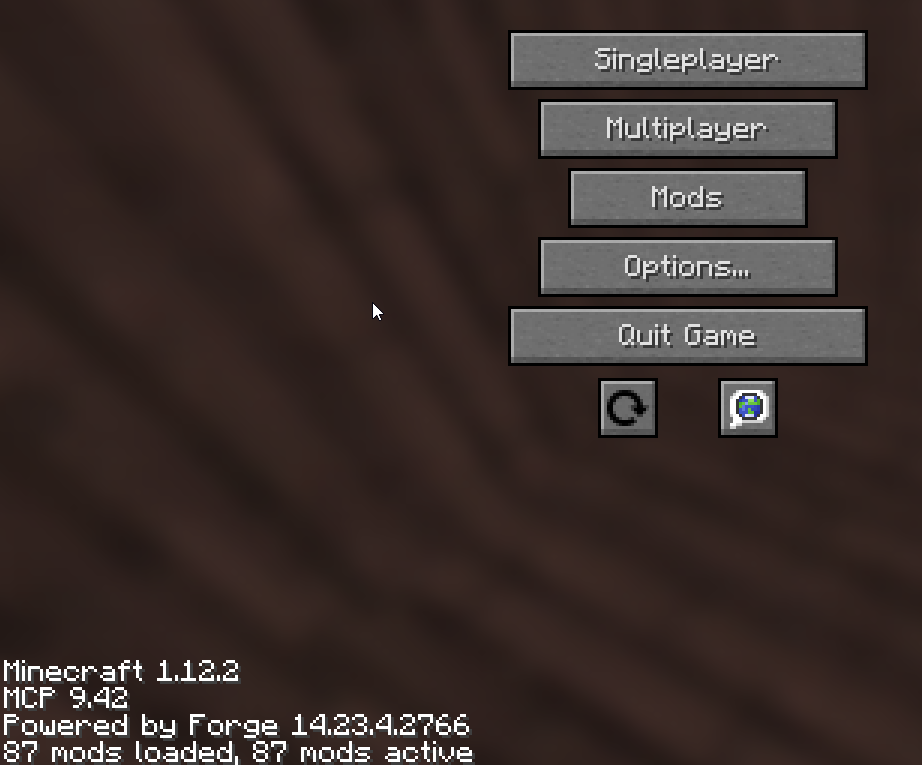
- Wait for the game to finish loading. It should show a menu screen similar to this, although the text will be different and the buttons may be in different locations:
Connect to Server
- Click on “Multiplayer:"

- Click on “Add Server:"

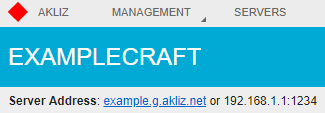
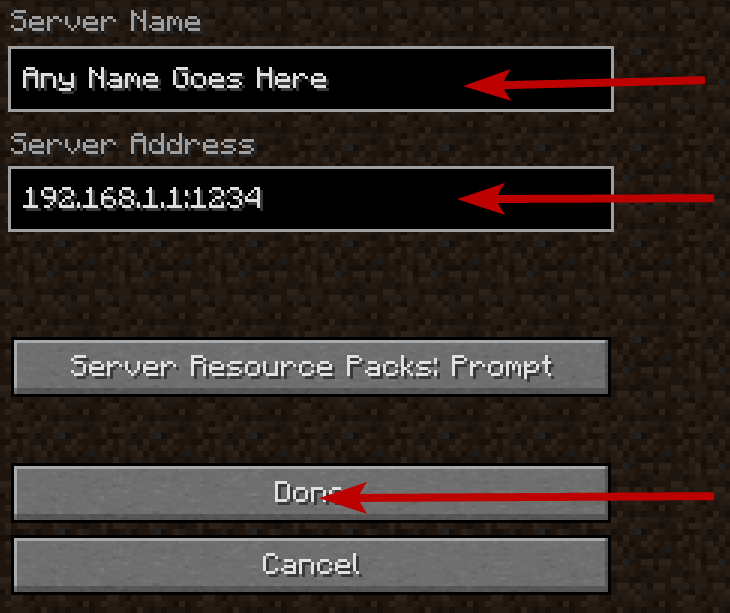
- Fill in the form with the IP address and port listed on your Command Center page and then click “Done:"
- Finally, select your new server and click on “Join Server:"

Optional: Change Client Version of the Modpack
Sometimes you need to change the version of your client to match the version of the server. Here's how:
- Click on the modpack in the launcher.
- Click on the VERSIONS button at the top.
- Select the version you want.
- Click the CONTINUE button.
- Wait for Twitch to modify the modpack.
That's it. Enjoy!
Updated about 1 month ago
